"Picking a Fight" is the preantepenultimate mission in Saints Row 2.
- Ultor begins "aggressive re-development"
- — Ultor Times newspaper headline
Overview
Ultor's special forces unit, the Masako, ambush The Protagonist inside the Club Koi nightclub.[3]
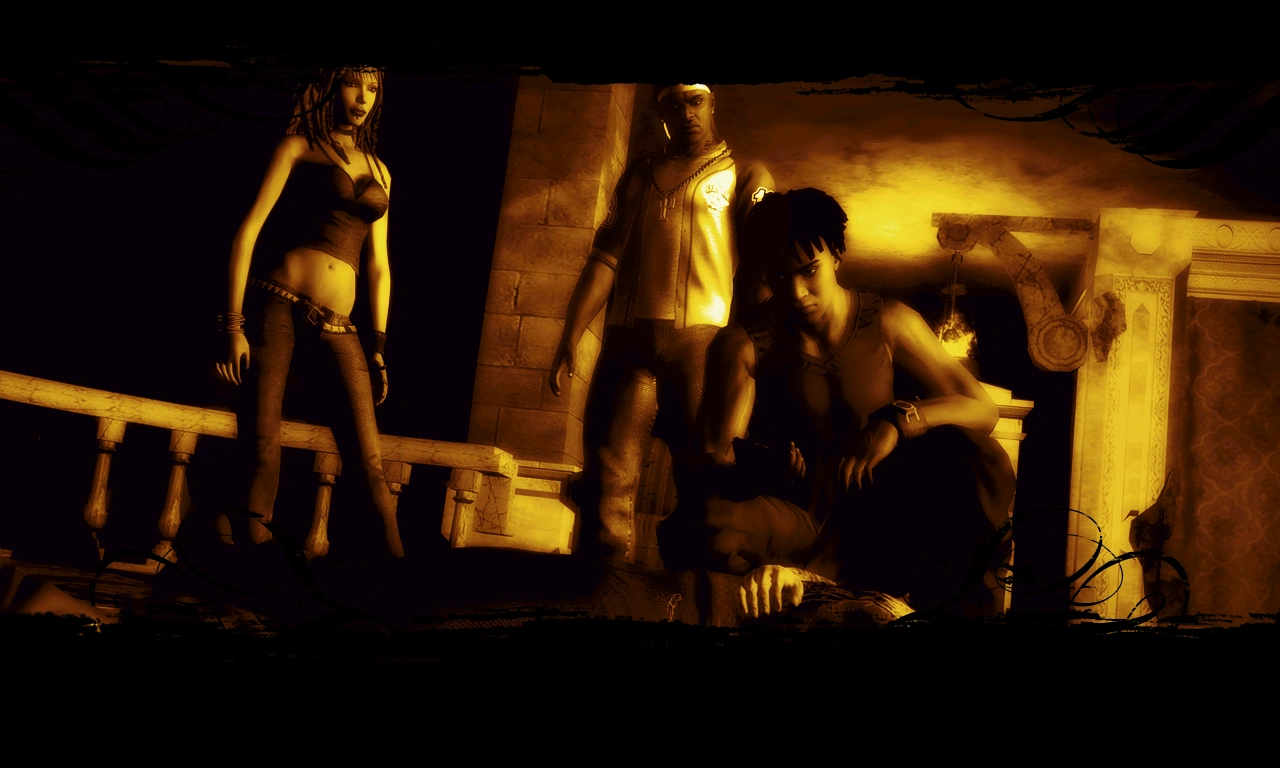
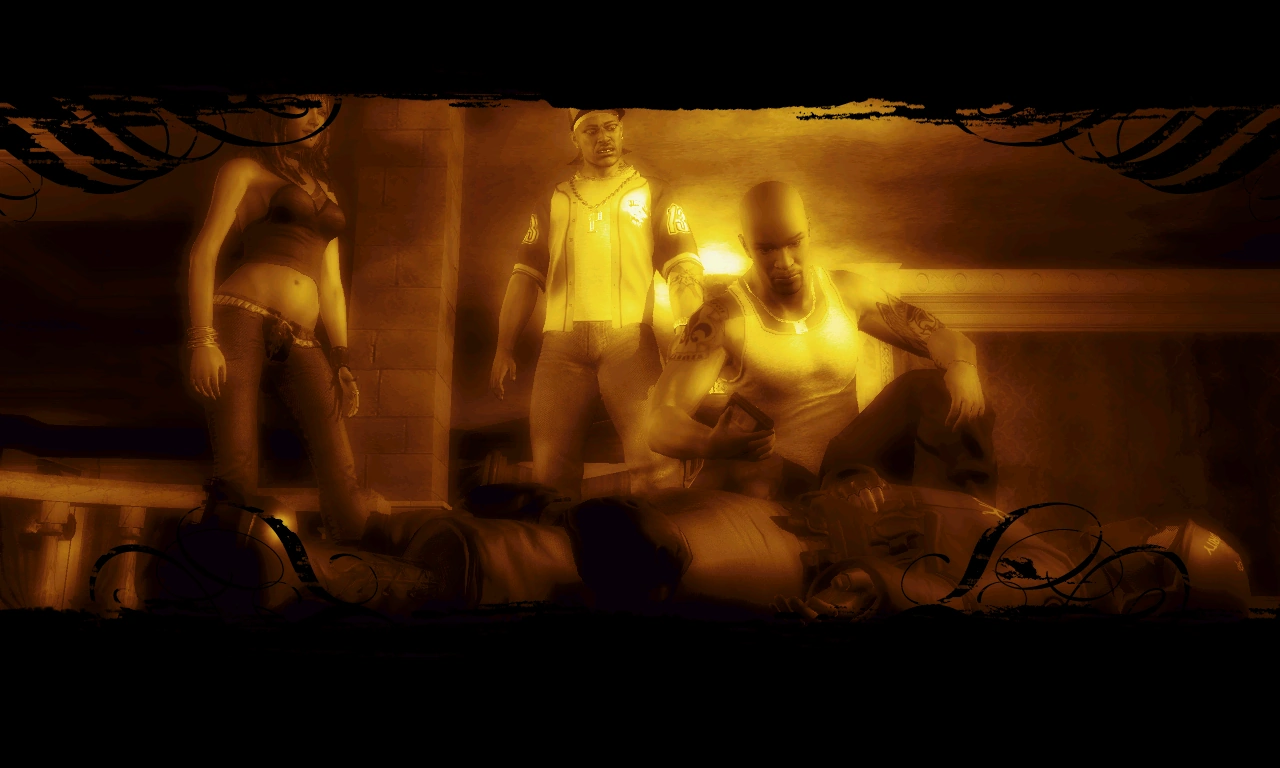
After escaping, The Protagonist receives a phone call from Johnny Gat, who is also being besieged by the Masako. He advises The Protagonist goes to find Pierce and Shaundi, who are most likely also being attacked. The Protagonist finds the pair – who are indeed being attacked by the Masako as well – and saves them. Back at the Saints Hideout, after examining the dead body of a Masako soldier, The Protagonist learns of The Pyramid, and sends both Pierce and Shaundi to find out as much as they can on it.[4]
Story
Upon completion of the Mission, this description is available at Newspaper Clipboards.
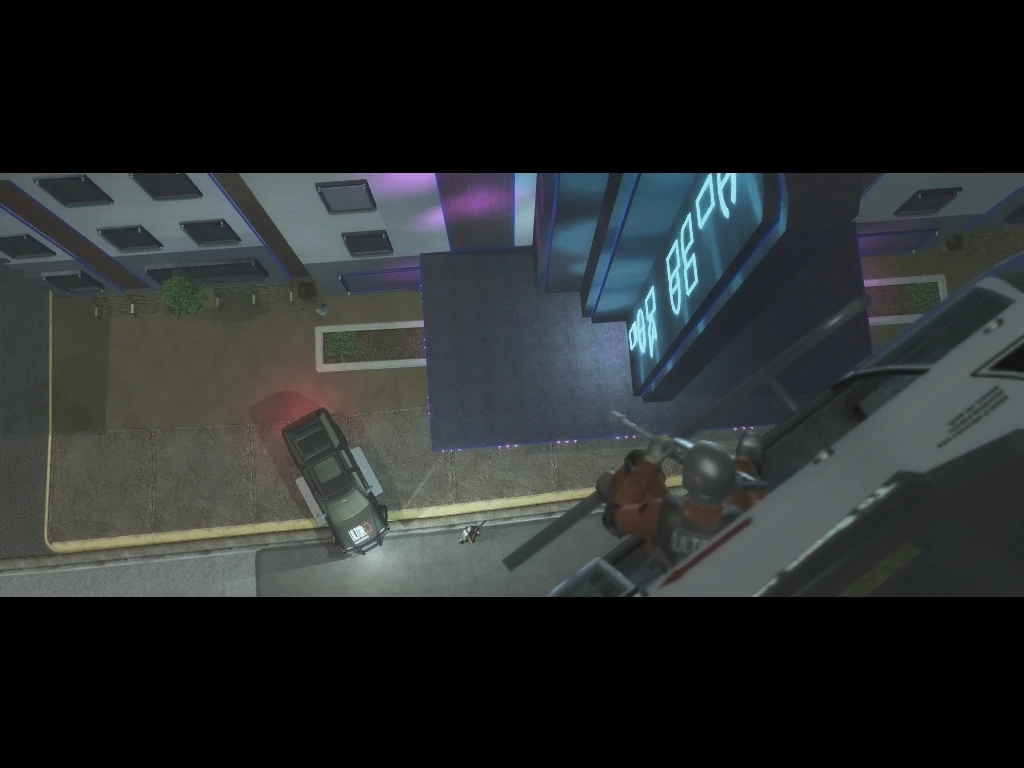
Gameplay
Gameplay from the mission.
This mission becomes available after finishing all gang story arcs and watching the "An Amazing Quarter" cutscene. After the Masako attack The Protagonist, the mission starts in Club Koi, with level 2 police notoriety.
- Fight your way to an exit
Stand up from behind the counter and kill the Masako inside the building. Downstairs, either exit can be used, as more Masako are waiting outside at either point. After exiting, Johnny Gat calls and instructs The Protagonist to rescue Pierce and Shaundi, who Gat surmises are also being attacked by the Masako.
There are no required kills, so it is possible to simply run towards the exit ignoring all enemies inside and outside. While this strategy is risky, this avoid adding additional police Notoriety, which makes the escape much easier.
After exiting the nightclub, there are two types of vehicles nearby: Five-Os and Bears. Although the Bear's heavy armor and Mounted .50 cal is advantageous, the Five-O is a better vehicle for this mission due to its sheer speed.
- Go rescue Pierce and Shaundi
Either can be saved first, but the GPS automatically points towards the closest, which is Pierce.
Throughout the mission, a Tornado may spawn while travelling to Pierce or Shaundi if at level 4 or 5 police Notoriety. When playing a patched game, the Tornado may fire missiles which are one-hit kills; while the Bear can withstand multiple missiles, the Five-O instead gives a much more valuable speed boost to avoid missiles.
Rescuing Pierce
|
|---|
|
Pierce is located in Shivington.
Once there, exit the vehicle and kill the ten marked Masako assassins outside. Pierce's health deteriorates slowly, there is no need to worry about him. Once Pierce is safe, either return to their Five-O or get in a new one.
|
Rescuing Shaundi
|
|---|
|
Speed off to the Suburbs District, avoiding the roadblocks, where Shaundi has been captured.
Shaundi is being escorted in a Voyage by the Masako and is harder to save than Pierce. The game explicitly states not to destroy the van; avoid all the enemies and pummel the van with as much firepower as possible until its "Condition" bar empties. The van stops and Shaundi exits, ending the mission. If the van does explode, however, the mission still ends provided Shaundi exits beforehand. If Pierce is saved first, the Ultor Voyage cannot be obtained.
|
Rewards
- Cash: $10,000
- Respect: None
- Mission: Pyramid Scheme
- Stronghold: Rounds Square Shopping Center
Trivia
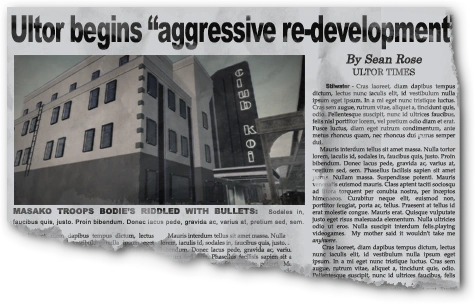

The Ultor Times newspaper clipping from the completion screen and Newspaper Clipboard.
- Although this mission first shows the Masako as enemies during gameplay inside a mission, they are first introduced during the The Brotherhood story arc in the mission "Jail Bait", where they protected Dane Vogel from Maero at the Phillips Building; at the time, Maero noted how they "[looked] more like a private army" than security guards.
- The Club Koi nightclub featured in the opening of this mission was originally the Raykins Hotel, a brothel owned by Tanya Winters which The Protagonist attacked in the mission "Always Use Protection" in Saints Row.
- Technically, the "An Amazing Quarter" cutscene is a cutscene similar to "Battlefield Promotion" in Saints Row and isn't a part of this mission; both cutscenes play after all gangs have been defeated.
- The Voyage which kidnaps Shaundi is a unique "Goon" variant with a "MASAKO" license plate which is only used in this mission, and is obtainable by rescuing Shaundi first and exiting the mission while inside the vehicle.
- After the mission is completed, all police officers, FBI agents and Ultor security guards are able to perform drive-by. However, they lose this ability if the game is reloaded.
- It is also possible to trigger this bug by replaying the mission via Newspaper Clipboard.
- The Five-Os used by the Masako which accompany the Voyage do not allow NPCs to exit the vehicle, which means it is possible to steal one with a Masako in the passenger seat. After doing this, the Masako passenger constantly attempts to shoot The Protagonist. If a Homie gets into one of the Masako Five-Os, they are also unable to exit the vehicle.
Transcript
"So a Gang Leader Walks In A Bar..." cutscene
- Masako soldier: "Target sighted."
Masako soldier: "The target's in position, bring in the Masako Team."
The Protagonist: "This could be going better..."
Gameplay
- The Protagonist's phone rings.Johnny Gat: "Hey, you got a second?"Johnny Gat: "Yeah? I got a couple APCs tryin' to run my ass down. Listen: if they're comin' for us you can bet your ass they're gunnin for Pierce and Shaundi too...you gotta go check on them."The Protagonist (Male Voice 1): "Little busy Gat..."
The Protagonist (Male Voice 2): "Not really, I got a buncha guys tryin' to kill me right now..."
The Protagonist (Male Voice 3): "This is a bad time Gat."
The Protagonist (Female Voice 1): "Can it wait Gat? I'm getting shot at..."
The Protagonist (Female Voice 2): "You couldn'tve picked a worse time Johnny."
The Protagonist (Female Voice 3): "I can't talk right now Gat, I'm killin' some people..."The Protagonist (Female Voice 2): "Jesus Christ...I'll take care of this..."
The Protagonist (Female Voice 3): "Thanks for the heads up, I'll check to see if they're ok..."
- Pierce, you ok?
- — The Protagonist, when nearing Pierce
- Pierce: "You got some amazin' timing..."The Protagonist (Male Voice 1): "No one fucks with Pierce Washington but me. Let's go give our girl a hand..."
The Protagonist (Male Voice 2): "Hey man, if those assholes killed ya I couldn't make fun of your music. Now let's go help Shuandi..."
The Protagonist (Male Voice 3): "The Saints always got your back, Pierce. Now let's hurry up and help Shaundi..."
The Protagonist (Female Voice 1): "What can I say, I like to make an entrance. Now let's get moving, we gotta get to Shaundi."
The Protagonist (Female Voice 2): "Glad you're ok Pierce. But we gotta hurry if we're gonna save Shaundi."
The Protagonist (Female Voice 3): "It's a gift. Now let's get a move on before these assholes kill Shaundi..."- — After The Protagonist saves Pierce
- Let go of me!
- — Shaundi, as The Protagonist nears her
- Shaundi: "Thank you so much! We gotta check on Pierce..."The Protagonist (Male Voice 1): "You're welcome, now let's go help Pierce..."
The Protagonist (Male Voice 2): "It's all good Shaundi, now whaddya say we go give Pierce a hand."
The Protagonist (Male Voice 3): "Glad you're safe Shaundi, now let's move before those assholes kill Pierce..."
The Protagonist (Female Voice 2): "You kiddin' me? If I let Ultor kill you who else would drive Pierce crazy? Now whatchu say we go ot their and give our boy a hand..."
The Protagonist (Female Voice 3): "I'm glad you're ok, but we gotta go check on Pierce."
The Protagonist (Female Voice 1): "I'm just happy you're still in one piece. Listen, if we're gonna save Pierce we gotta move..."- — After The Protagonist saves Shaundi
- Thanks boss, I thought I was dead for sure...
- — Shaundi, after The Protagonist saves her after saving Pierce
"A Bigger Threat" cutscene
- Shaundi: "I liked Ultor a lot more when they just made clothes..."
Pierce: "Whatchu do to piss these guys off?"
The Protagonist: "Fuck if I know..."
Pierce: "Yo, I signed on for killin' gang bangers not fightin' some SWAT team from hell..."
The Protagonist: "Don't worry 'bout it Pierce, we'll take care of it..."
Pierce: "The fuck you mean, "don't worry about it", these guys are packin' space-age shit..."
The Protagonist: "Hey Shaundi, you date anyone who worked at a place called the pyramid?"
Shaundi: "No..."
Pierce: "For real?"
The Protagonist: "Alright, you two find out whatever you can about this place...I wanna take these assholes apart."
Gallery
- Picking a Fight Masako and FBI (vehicle)2.JPG
- Picking a Fight Masako and FBI (vehicle)3.JPG
- Ultor helicopter.JPG
![Picking a Fight]()
- Picking a Fight (1).jpg
- Picking a Fight (2).jpg
- Picking a Fight 2012-08-27 00102.jpg
- Picking a Fight (3).jpg
- Picking a Fight (4).jpg
- Picking a Fight (5).jpg
- Picking a Fight (6).jpg
- Picking a Fight (7).jpg
- Picking a Fight (8).jpg
- Picking a Fight (9).jpg
- Picking a Fight (10).jpg
- Picking a Fight (11).jpg
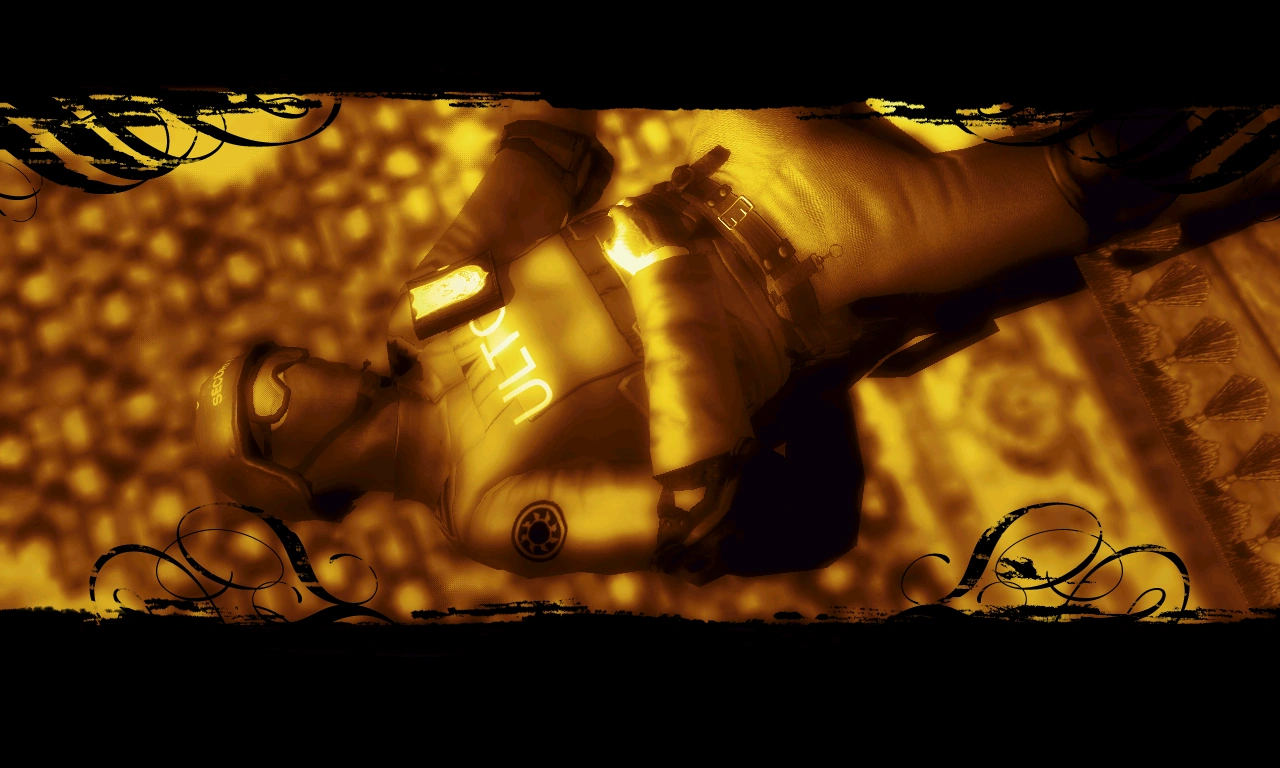
![Loading screen used after "Picking a Fight"]()
![Loading screen used after "Picking a Fight"]()
![Loading screen used after "Picking a Fight"]()
![Loading screen used after "Picking a Fight"]()
- Picking a Fight.png


1.JPG)
Picking a Fight
2.JPG)
Picking a Fight
3.JPG)
Picking a Fight
Picking a Fight
Picking a Fight
.jpg)
Picking a Fight
.jpg)
Picking a Fight
Picking a Fight
.jpg)
Picking a Fight
.jpg)
Picking a Fight
.jpg)
Picking a Fight
.jpg)
Picking a Fight
.jpg)
Picking a Fight
.jpg)
Picking a Fight
.jpg)
Shaundi, Pierce, and The Protagonist with a dead Masako
.jpg)
Shaundi, Pierce, and The Protagonist
.jpg)
The identification card which says the soldier worked at "The Pyramid"
Loading screen used after "Picking a Fight"

Loading screen used after "Picking a Fight"

Loading screen used after "Picking a Fight"
Loading screen used after "Picking a Fight"
Gameplay from the mission
References
- ↑ 1.0 1.1 Note: If Shaundi hasn't been saved.
- ↑ 2.0 2.1 Note: If Pierce hasn't been saved.
- ↑ Cutscene: So a Gang Leader Walks In A Bar...
- ↑ Cutscene: A Bigger Threat
Template:Saints Row 2 Missions and Strongholds